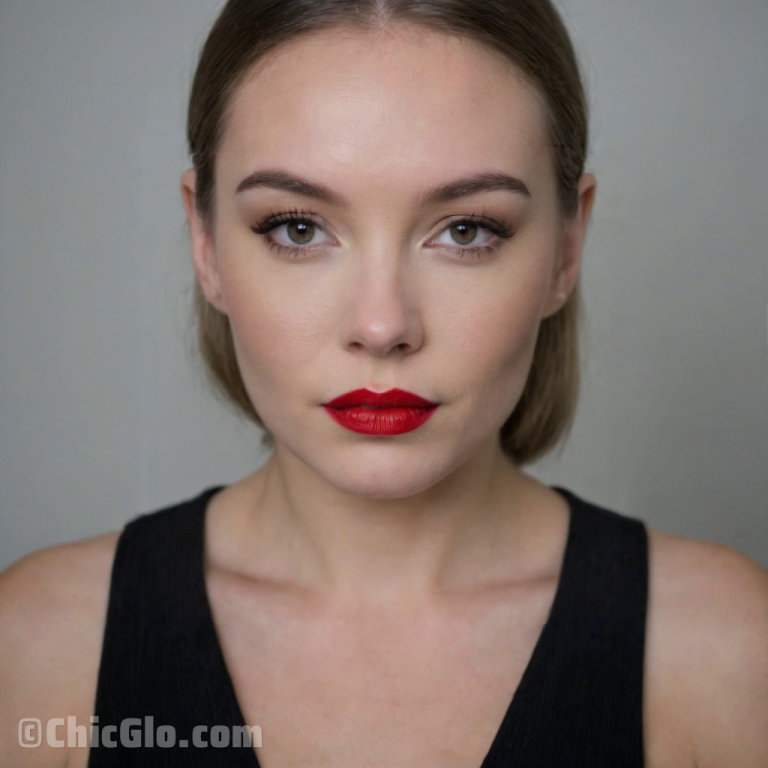
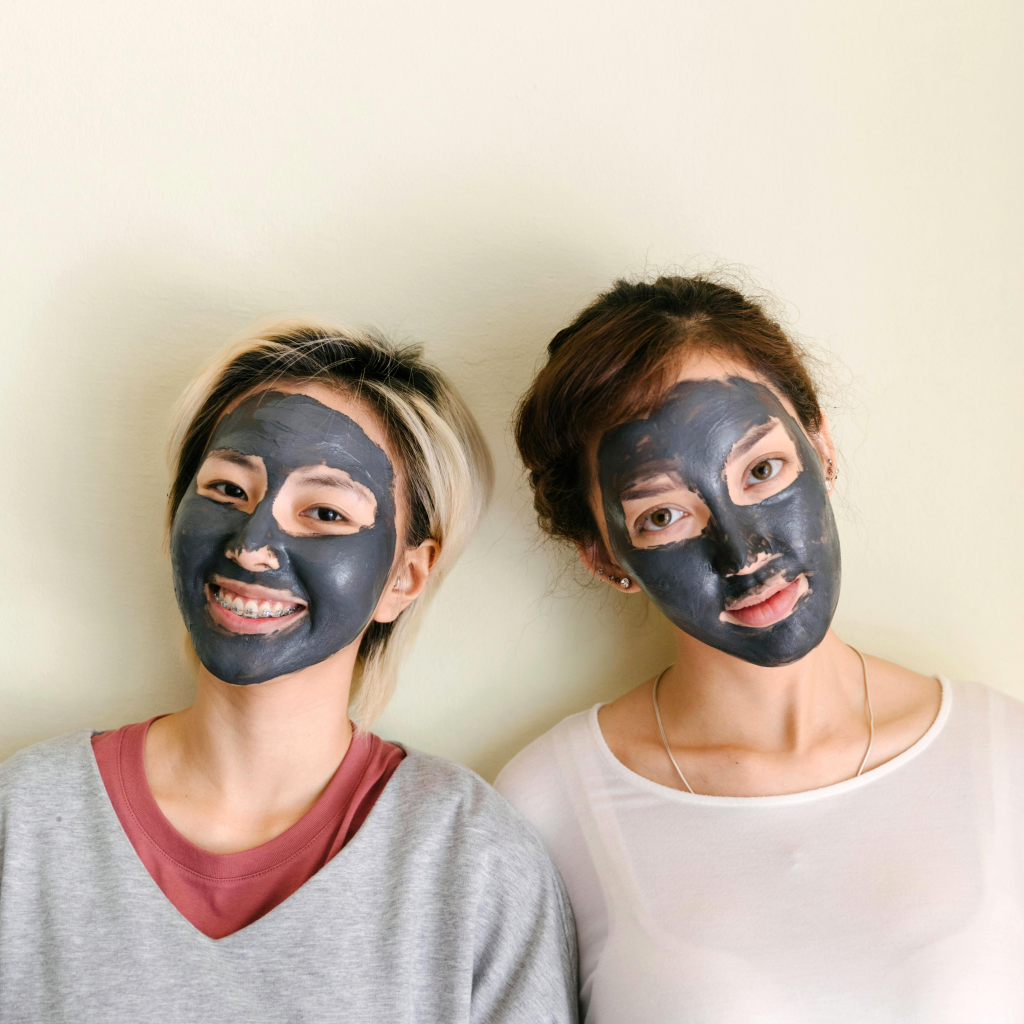
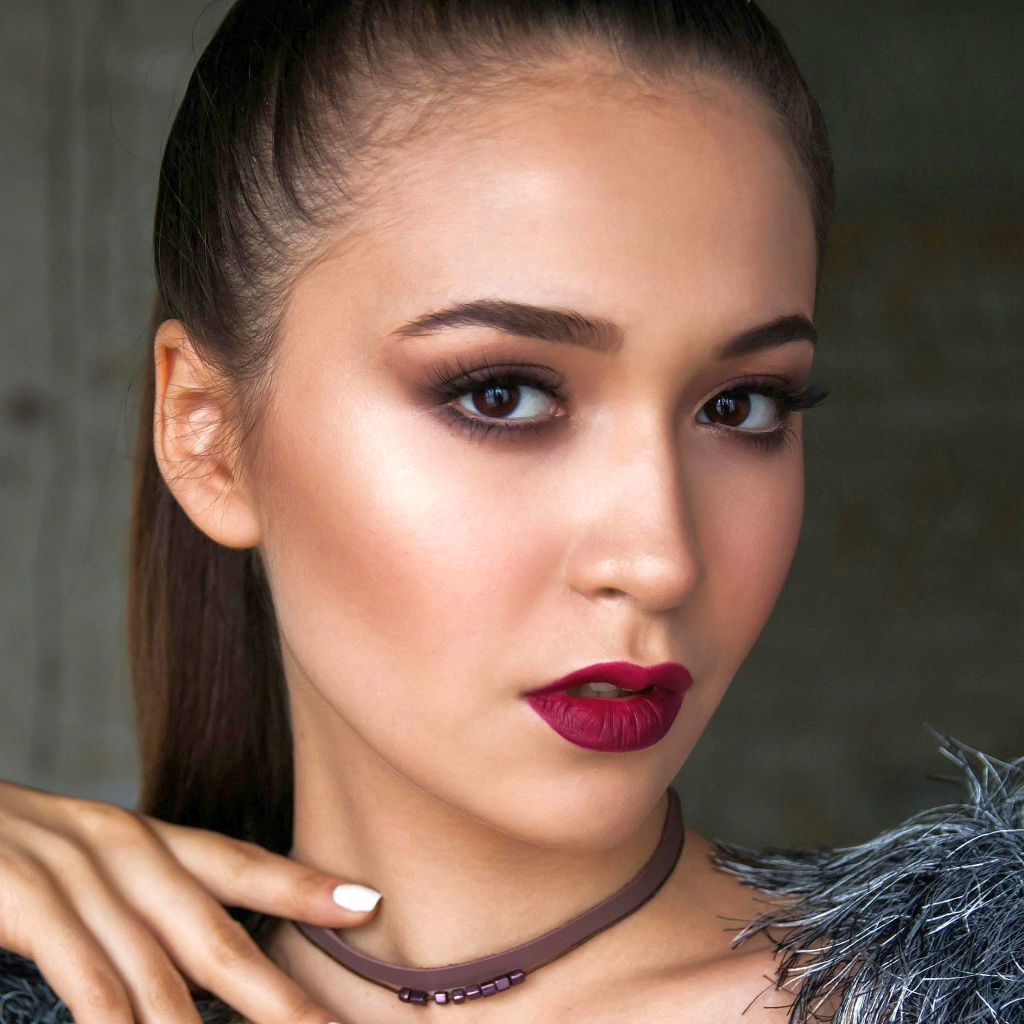
The classic red lip look is timeless and exudes confidence and sophistication. It’s perfect for any occasion, whether you’re heading to a glamorous event or simply want to feel empowered in your everyday life. In this blog post, we’ll guide you through the materials needed and the step-by-step process to achieve the stunning makeup look depicted in the image.
Materials Needed
Face
- Primer: To ensure a smooth and long-lasting base.
- Foundation: For an even complexion.
- Concealer: To cover any blemishes and brighten the under-eye area.
- Setting Powder: To set the foundation and concealer.
- Blush: To add a natural flush to the cheeks.
Eyes
- Eyebrow Pencil/Powder: To define and fill in the eyebrows.
- Eyeshadow Primer: To keep eyeshadow in place.
- Neutral Eyeshadow Palette: For a subtle eye look.
- Eyeliner: For a defined lash line.
- Mascara: To enhance the lashes.
Lips
- Lip Balm: To moisturize the lips.
- Lip Liner: To define the lips and prevent lipstick from bleeding.
- Red Lipstick: The star of the look.
Tools
- Makeup Brushes: For applying and blending products.
- Beauty Blender: For a flawless foundation application.
- Eyelash Curler: To curl the lashes before applying mascara.
Step-by-Step Guide
Step 1: Prepare Your Face
- Start with a Clean Canvas: Cleanse and moisturize your face to create a smooth base for your makeup.
- Prime Your Skin: Apply primer all over your face to help your makeup last longer and go on smoother.
Step 2: Create a Flawless Base
- Apply Foundation: Use a beauty blender or makeup brush to apply foundation evenly across your face. Make sure to blend it well into your neck to avoid any harsh lines.
- Conceal Imperfections: Apply concealer under your eyes, on any blemishes, and on any areas that need extra coverage. Blend it out with your beauty blender.
- Set with Powder: Lightly dust setting powder over your face to set your foundation and concealer in place.
Step 3: Define Your Features
- Shape Your Eyebrows: Use an eyebrow pencil or powder to fill in your eyebrows, creating a natural but defined shape.
- Apply Blush: Smile and apply blush to the apples of your cheeks, blending it towards your temples for a natural flush.
Step 4: Enhance Your Eyes
- Prime Your Lids: Apply eyeshadow primer to your eyelids to keep your eyeshadow from creasing.
- Neutral Eyeshadow: Use a neutral eyeshadow palette to add subtle definition to your eyes. Apply a light shade all over your lid, a medium shade in the crease, and a slightly darker shade on the outer corner for depth.
- Define with Eyeliner: Apply a thin line of eyeliner close to your upper lash line to define your eyes.
- Curl Your Lashes: Use an eyelash curler to curl your lashes before applying mascara.
- Apply Mascara: Coat your lashes with mascara to make them look fuller and longer.
Step 5: Perfect Your Lips
- Prep Your Lips: Start by applying a lip balm to moisturize your lips and create a smooth base for your lipstick.
- Line Your Lips: Use a red lip liner to outline your lips. This step helps to define your lips and prevent your lipstick from bleeding.
- Apply Red Lipstick: Fill in your lips with your red lipstick. For a precise application, use a lip brush to carefully apply the color, starting from the center of your lips and working outwards.
Conclusion
Achieving this classic red lip makeup look is all about preparation and precision. By following these steps and using the right materials, you can recreate this timeless look and feel confident and beautiful. Whether you’re a makeup novice or a seasoned pro, this guide will help you master the red lip and ensure your makeup looks flawless all day long.
Feel free to adjust the product recommendations to suit your skin type and preferences, and most importantly, have fun experimenting with this classic makeup look!
