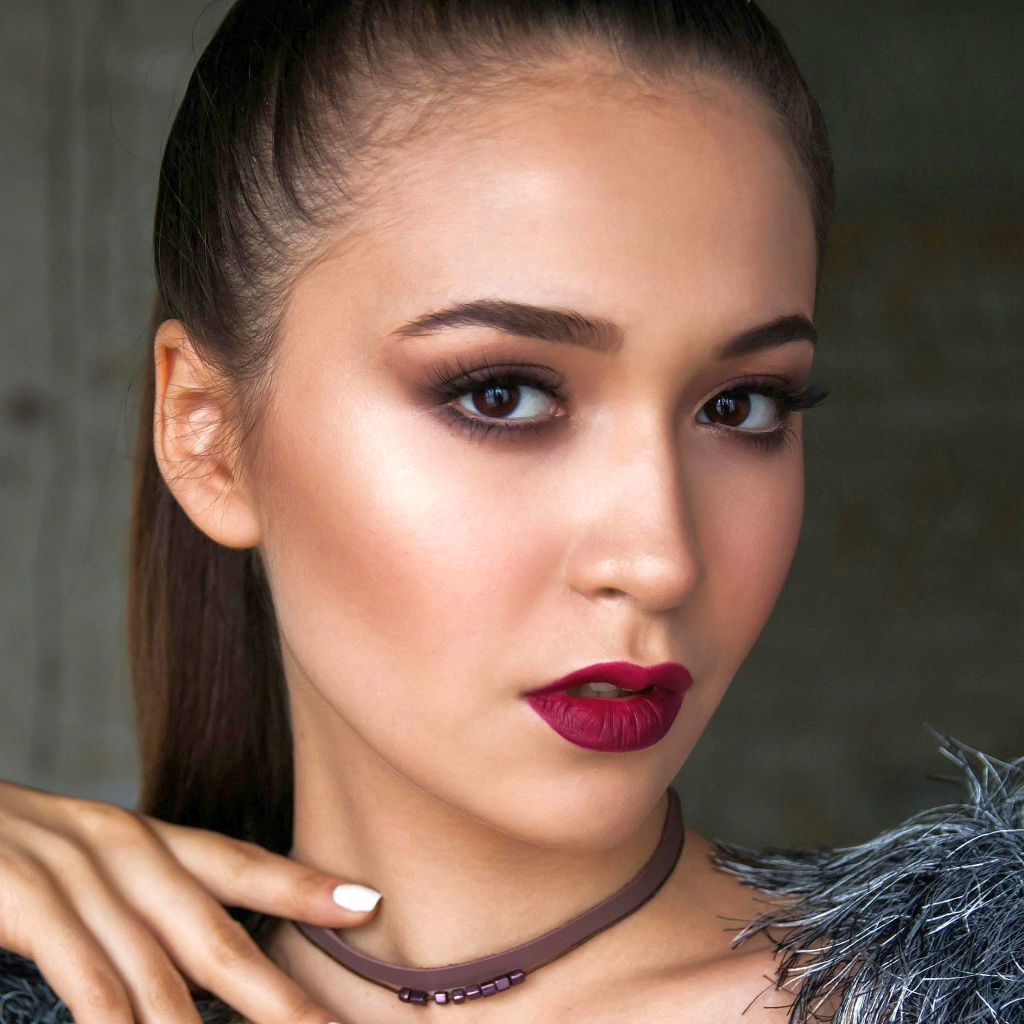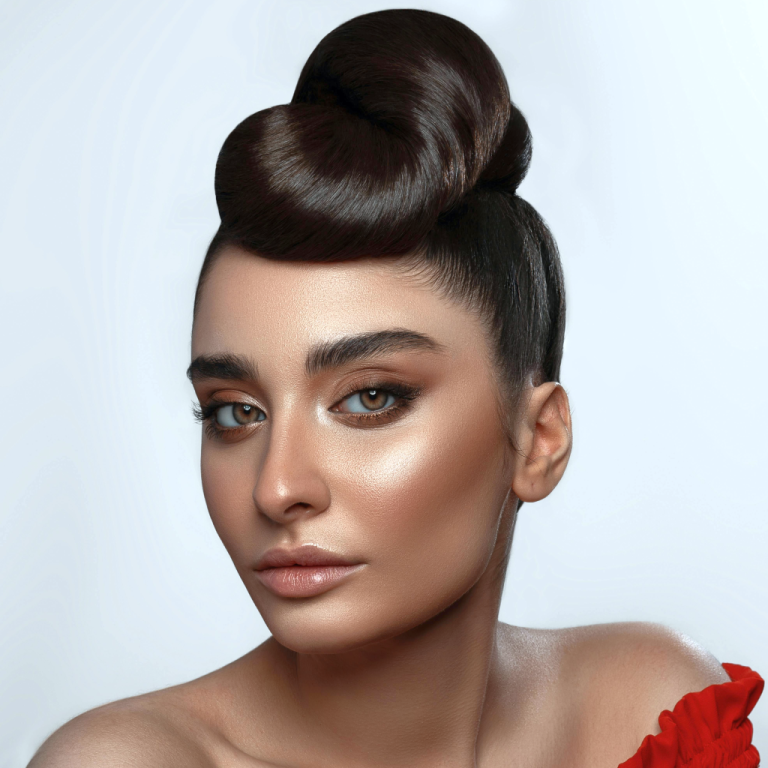
Today, we’re going to break down the steps and materials needed to recreate this stunning makeup look, perfect for any glamorous occasion. This sophisticated and polished style is characterized by flawless skin, bold brows, and a sleek updo. Let’s dive into the details!
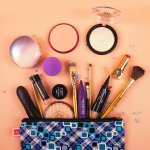
Materials Needed
To achieve this look, you’ll need the following materials:
Face:
- Primer: To create a smooth base for your makeup.
- Foundation: Choose one that matches your skin tone.
- Concealer: For covering any blemishes and brightening the under-eye area.
- Setting Powder: To keep your makeup in place and control shine.
- Contour Kit: For defining your cheekbones, jawline, and nose.
- Highlighter: To add a radiant glow to the high points of your face.
- Blush: A subtle, natural shade to add a touch of color to your cheeks.
Eyes:
- Eyebrow Pencil or Powder: To fill in and shape your brows.
- Eyeshadow Primer: To make your eyeshadow last longer.
- Eyeshadow Palette: With neutral and warm tones.
- Eyeliner: For defining your lash line.
- Mascara: To add volume and length to your lashes.
- False Lashes (optional): For added drama.
Lips:
- Lip Liner: To define the shape of your lips.
- Lipstick: In a nude or subtle pink shade.
- Lip Gloss: For a glossy finish (optional).
Tools:
- Makeup Brushes: Various sizes for foundation, blush, contour, eyeshadow, and blending.
- Beauty Blender: For a seamless foundation application.
- Eyelash Curler: To curl your lashes before applying mascara.
Step-by-Step Guide
Step 1: Prepare Your Face
Start with a clean and moisturized face. Apply a primer to create a smooth base for your makeup. This will help your makeup last longer and look more flawless.
Step 2: Apply Foundation
Use a foundation brush or beauty blender to apply your foundation evenly across your face. Blend it well into your skin for a natural finish.
Step 3: Conceal and Set
Apply concealer under your eyes and on any blemishes. Blend it out with a beauty blender. Set your foundation and concealer with a setting powder to prevent creasing and shine.
Step 4: Contour and Highlight
Use a contour kit to define your cheekbones, jawline, and the sides of your nose. Apply highlighter to the high points of your face – the tops of your cheekbones, bridge of your nose, brow bones, and cupid’s bow.
Step 5: Blush
Add a touch of blush to the apples of your cheeks for a healthy glow. Blend it well with your contour.
Step 6: Perfect Your Brows
Fill in your eyebrows with an eyebrow pencil or powder. Follow the natural shape of your brows and make sure they look even and well-defined.
Step 7: Eyeshadow
Apply an eyeshadow primer to your lids. Use neutral and warm tones from your eyeshadow palette. Apply a lighter shade on the lid and a slightly darker shade in the crease for depth. Blend well.
Step 8: Eyeliner and Mascara
Line your upper lash line with eyeliner. You can create a small wing for added drama. Curl your lashes and apply mascara to both your upper and lower lashes. Add false lashes if you want a more dramatic effect.
Step 9: Lips
Outline your lips with a lip liner that matches your lipstick. Fill in your lips with a nude or subtle pink lipstick. Add a touch of lip gloss if you prefer a glossy finish.
Finishing Touches
Make sure everything is well-blended and even. Set your makeup with a setting spray to ensure it lasts all day or night.
Conclusion
And there you have it! A step-by-step guide to achieving this glamorous makeup look. Perfect for a night out, a special event, or any occasion where you want to feel extra fabulous. Don’t forget to practice and adjust the steps to suit your unique features.
Call to Action
We hope you enjoyed this tutorial! Feel free to leave a comment below sharing your thoughts or any tips you might have. If you loved this guide, don’t forget to share it with your friends and family. Happy makeup-ing!
Feel free to use this guide as a reference and tweak it to match your personal style. Enjoy creating this beautiful look!